Further Customizing Your New Lightsaber
Creating a unique lightsaber can be an exciting project for any fan. With a bit of creativity and the right techniques, you can transform your lightsaber into a personalized masterpiece that reflects your style and personality. Here’s a detailed look at various methods for further customizing your saber at home, from part swapping to unique weathering techniques and creative wraps.
Swapping Parts
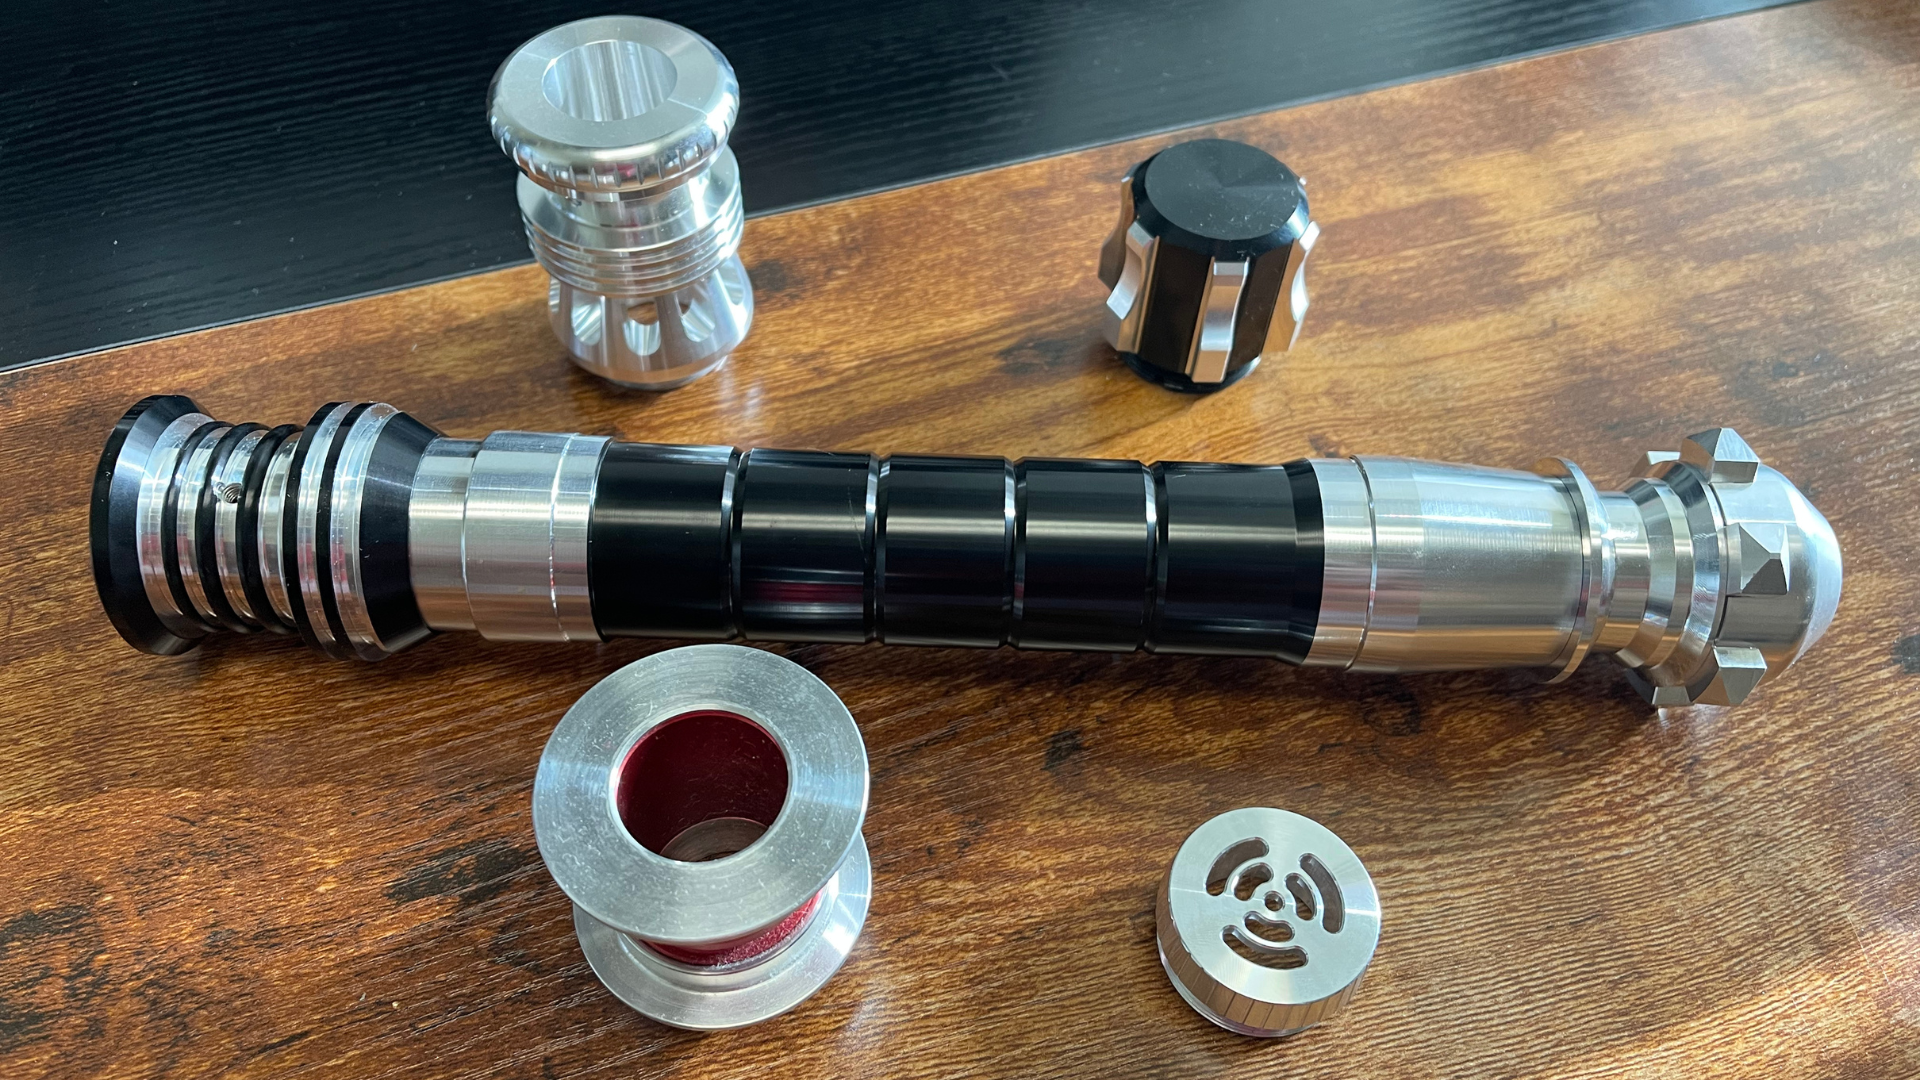
One of the most enjoyable aspects of customizing your lightsaber is the ability to swap out parts. Most of our sabers come with MHS (Modular Hilt System) compatible pommels and emitters. This means you can easily mix and match different components to create a look that’s all your own.
Choosing Your Pommel and Emitter
Pommels: Available in various styles, from sleek and modern to rugged and battle-worn. Experiment with different shapes and finishes to find what fits your saber’s theme.
Emitters: The emitter is the business end of the lightsaber and choosing the right one can significantly alter the saber’s appearance. Whether you prefer a classic round emitter or something more angular and aggressive, there’s an option for you.

Weathering and Painting Techniques
Weathering your lightsaber can give it the look of a seasoned warrior, having fought countless battles across the galaxy. Here are some techniques to achieve that rugged aesthetic:
Sanding for Weathering
For anodized pieces, using a sanding block can effectively simulate wear and tear. Here are some tips:
- Focus on High-Wear Areas: Concentrate your sanding on areas that would naturally see more handling, such as the emitter and pommel areas. This creates a realistic battle-worn appearance.
- Avoid the Grip Area: While sanding can add texture, be cautious around the grip area. Rough textures can be uncomfortable and may make handling your saber less enjoyable.
Painting Techniques
- Base Colors: Use spray paint or acrylics to add your desired base color. Consider metallics for a futuristic look or matte finishes for a more grounded appearance.
- Washes and Dry Brushing: After your base coat, apply washes in the cracks and crevices to enhance depth. This technique can give your lightsaber a dirty, well-used look, as if it has truly been through the wringer.
After you’ve perfected your look, make sure to seal it! This will help prevent the paint from chipping or fading during use. Check out ZTHRTY2‘s guide on weathering a lightsaber to get some inspiration:
Leather and Fabric Wrapping
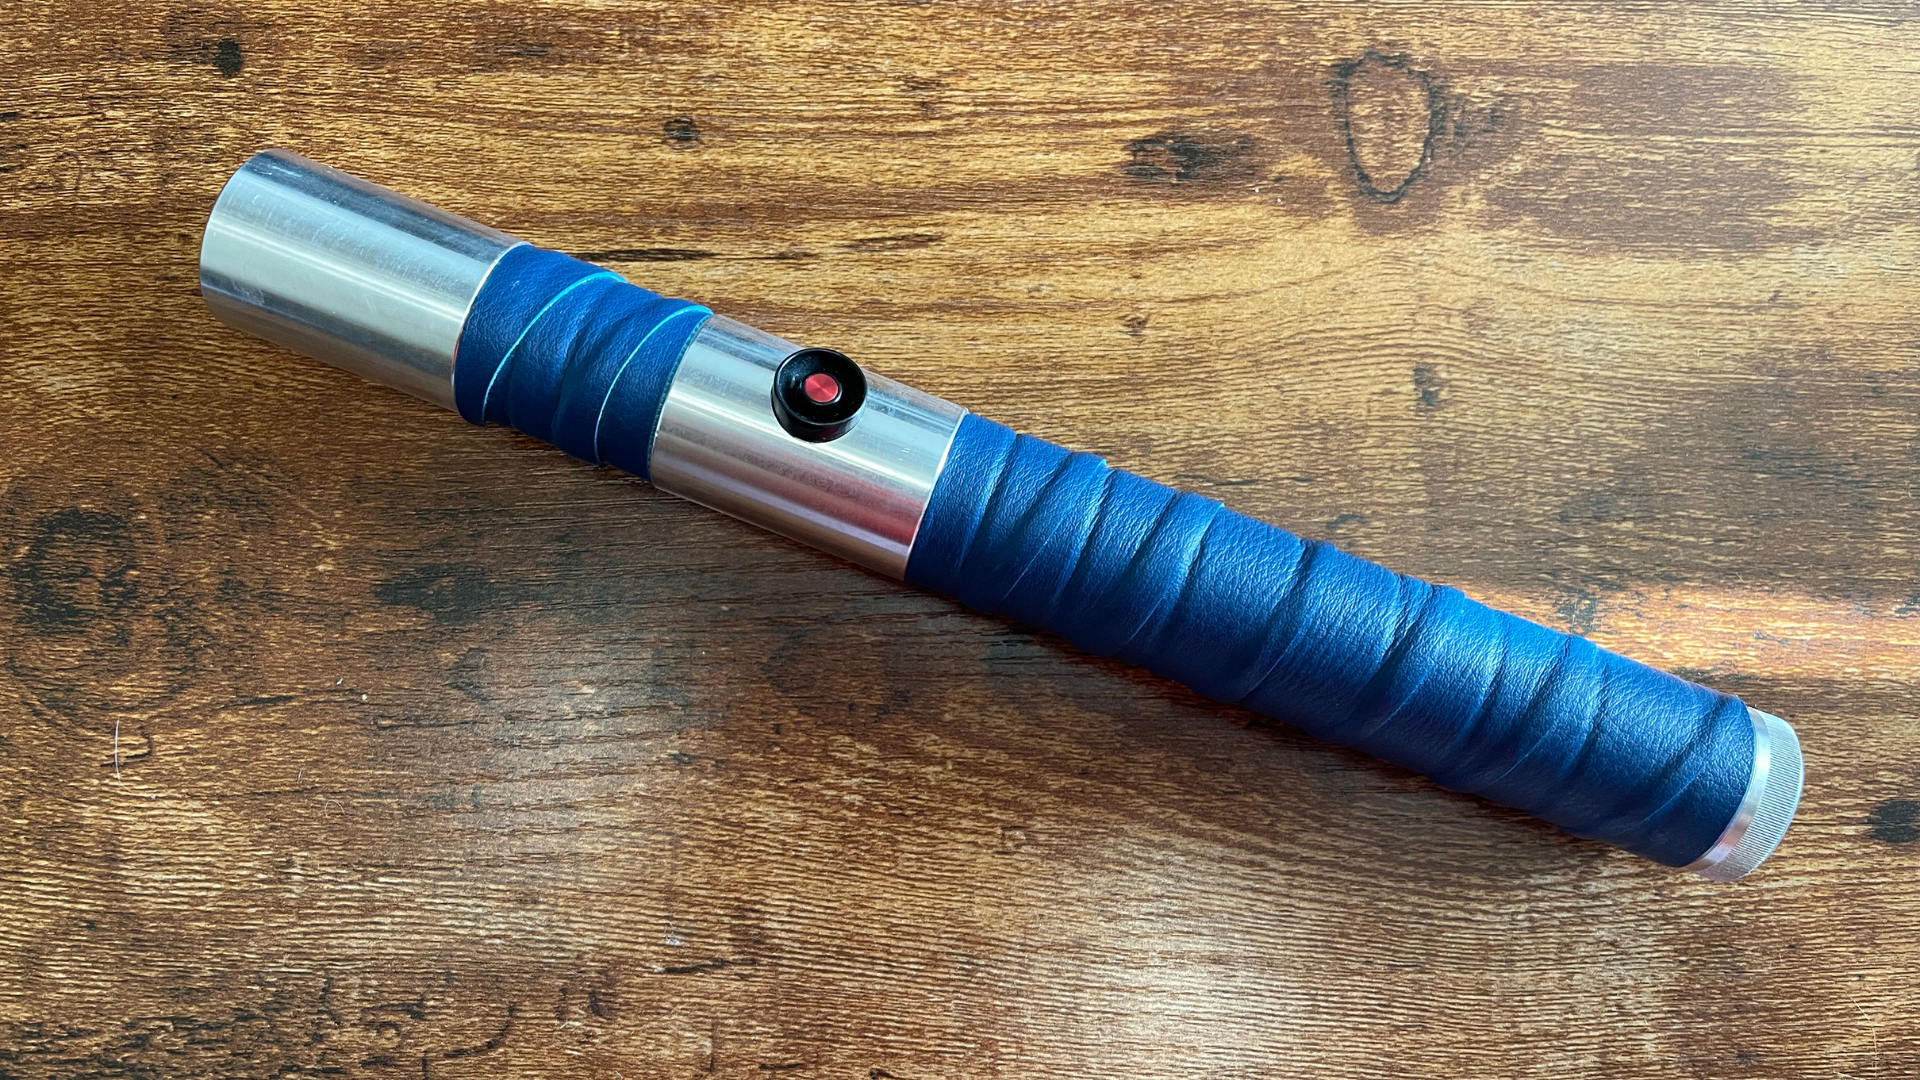
Wrapping your lightsaber handle with leather or fabric can add both comfort and style.
Selecting Your Material
- Leather: A piece of leather from a craft store can provide a classy and durable wrap. You can find it in various colors and textures. Consider using faux leather for a more budget-friendly option.
- Fabric: Old T-shirts or other fabric scraps can create a more casual look. Use patterns or colors that resonate with your personal aesthetic.
Application Techniques
- Wrap It Up: Simply wrap your chosen material around the grip area, securing it with glue or sewing it in place. Make sure it’s snug enough to provide a comfortable grip without shifting during use.
- Adding Details: Consider adding additional details, such as stitching or decorative elements, to enhance the overall look. You can also add paint or dye to the fabric to weather it along with the hilt.

Final Touches
After customizing your lightsaber, take a step back and evaluate your work. Consider adding final touches like:
- Emblems or Stickers: Personalize your hilt with stickers or emblems that represent your favorite characters or personal insignia.
- Display Options: Think about how you’ll display your saber. A custom stand or wall mount can not only showcase your work but also protect it from damage.
With these techniques and ideas, you can create a lightsaber that’s not just a toy, but a personalized piece of art. Enjoy the process of customizing, and may the Force be with you on your creative journey!


