25% OFF SABERS WITH SOUND - CODE: 25SOUND Learn More
Embrace the Galactic Empire with a DIY Stormtrooper costume. Whether you’re preparing for your next Star Wars costume party, lightsaber combat session, cosplay event, or convention, Stormtrooper armor is sure to impress and will be a conversation starter wherever the day (or night) takes you. However, authentic Stormtrooper outfits can be costly, and building one from scratch can be particularly complex due to the type of armor.
Don’t get too discouraged just yet, because we have good news. This post is dedicated to laying out an easy-to-follow DIY Stormtrooper costume guide that shows you how to make Stormtrooper armor at home, creating a one-of-a-kind set of armor that looks great and costs a fraction of the price of the one seen on film!
Speaking of seeing these soldiers on film, do you remember one of the more iconic Stormtrooper moments in Star Wars history? It occurs in Star Wars: Episode IV — A New Hope, when we see Luke Skywalker in a Stormtrooper disguise during the Death Star rescue of Princess Leia.
After incapacitating an Imperial trooper, Luke dons their armor to infiltrate the Death Star alongside Han Solo. Despite the disguise, Leia famously quips, “Aren’t you a little short for a Stormtrooper?”, leading Luke to reveal his true identity and help Leia escape.
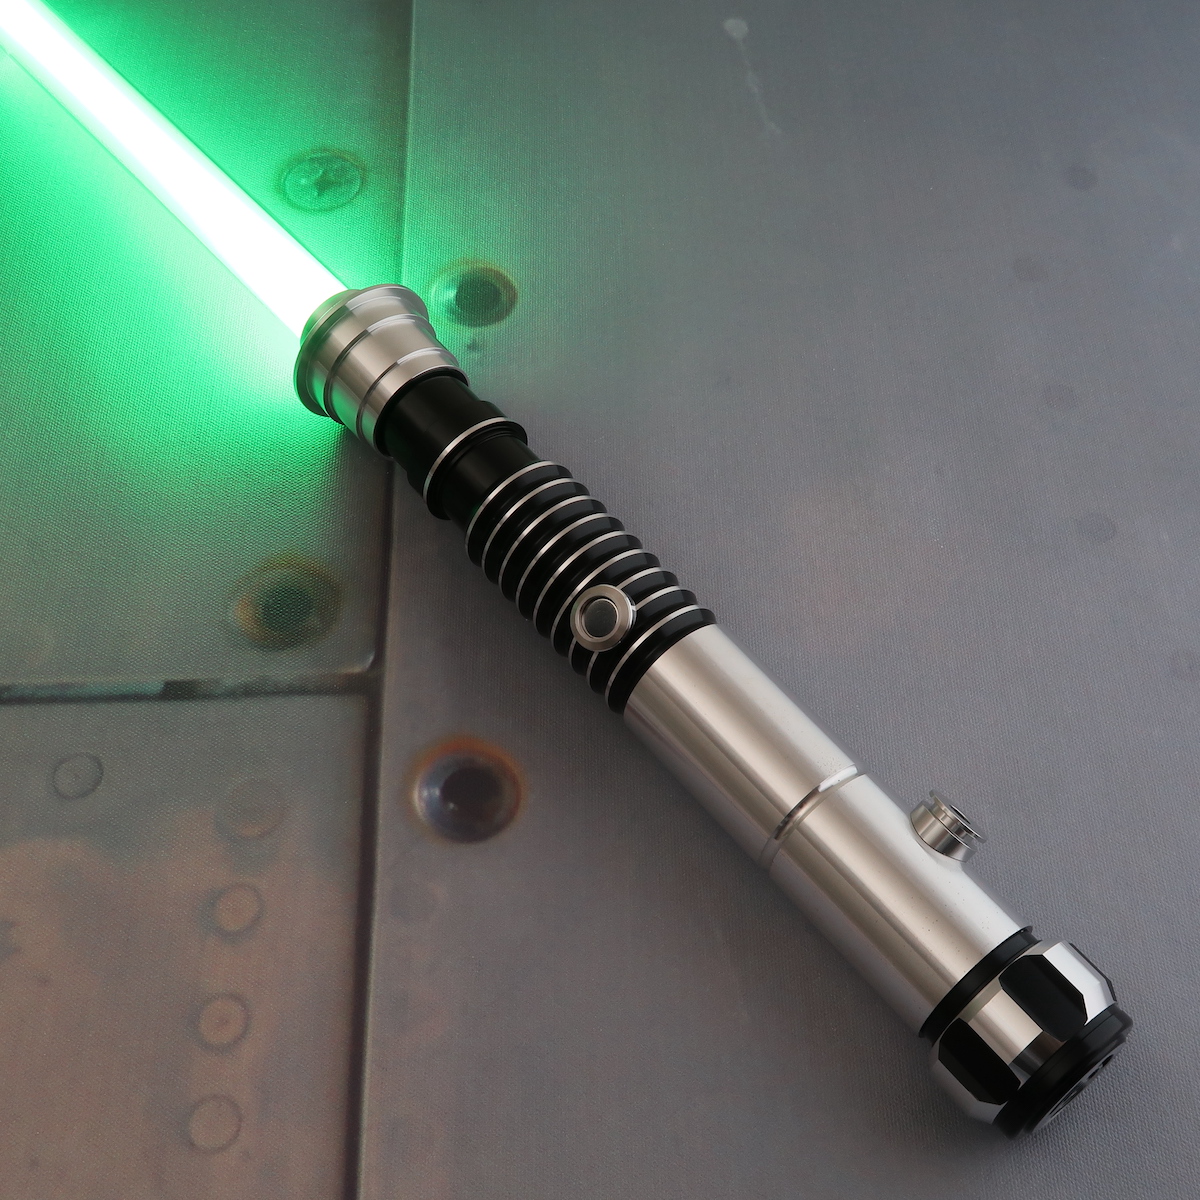
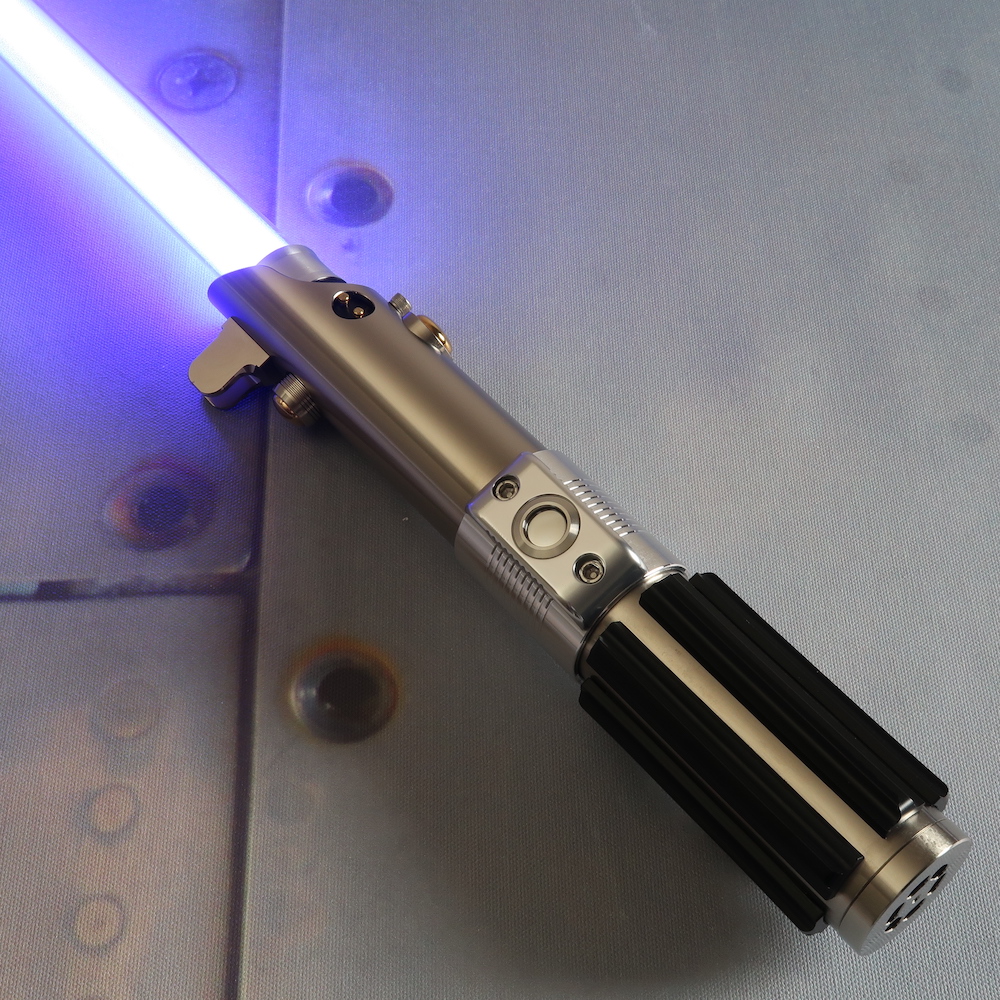
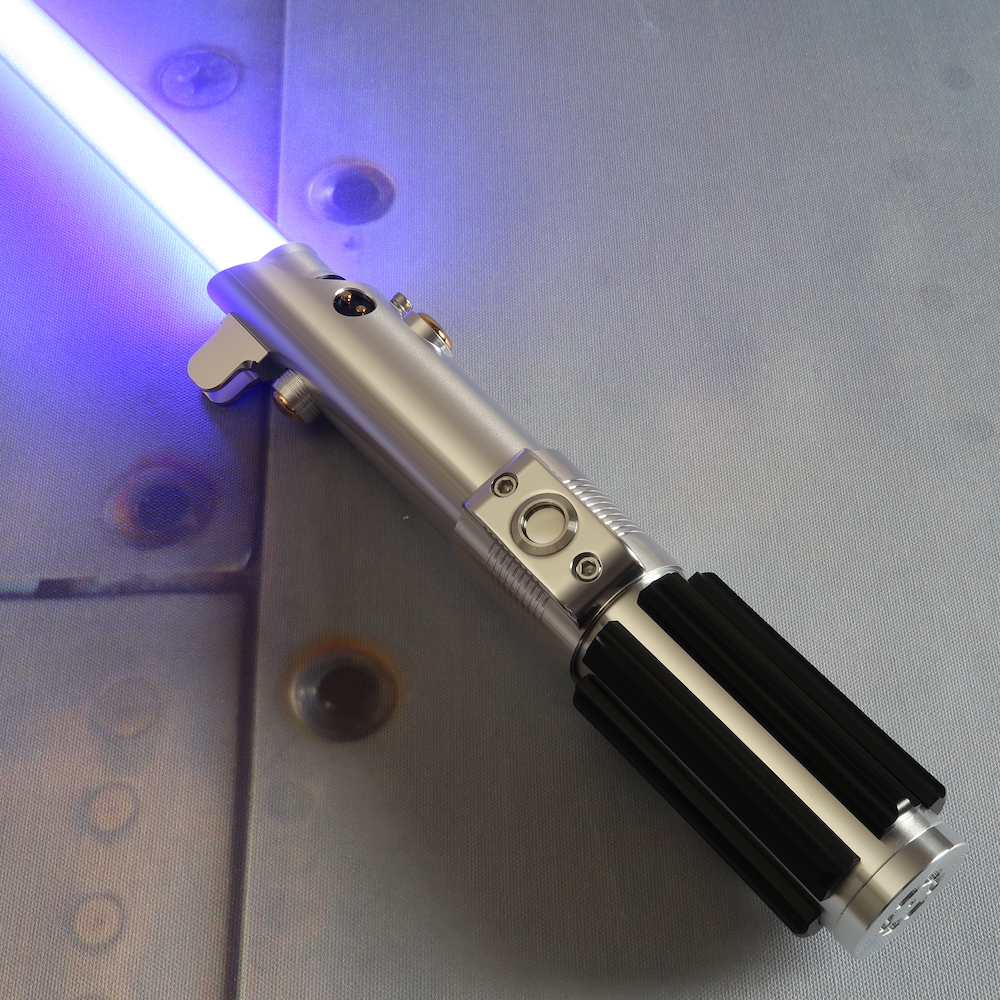
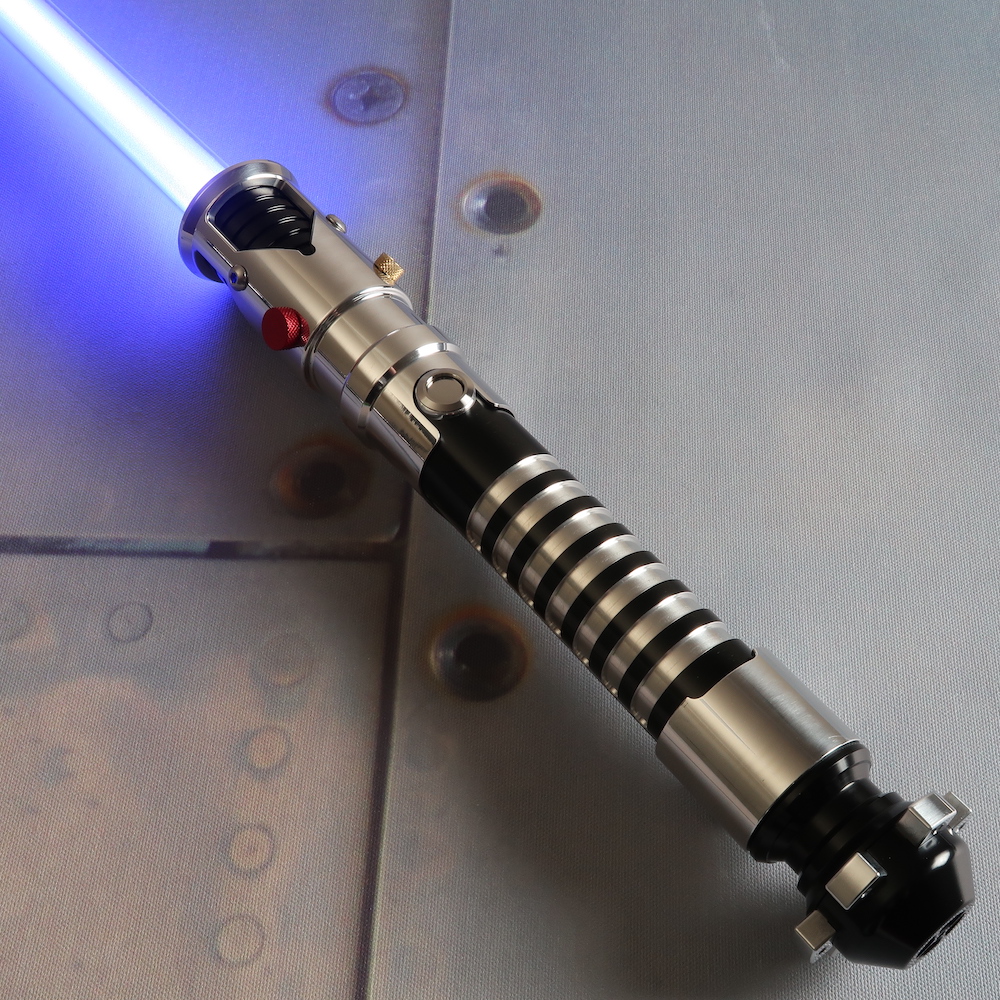
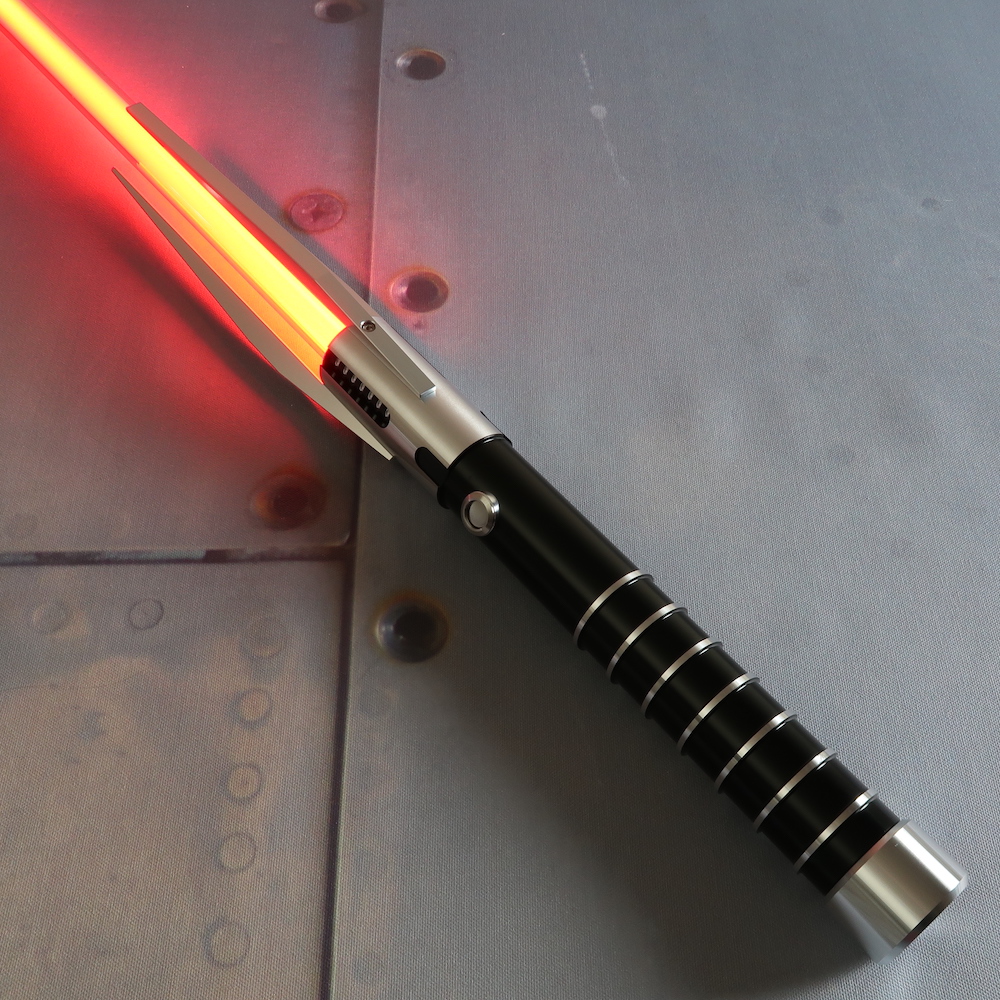
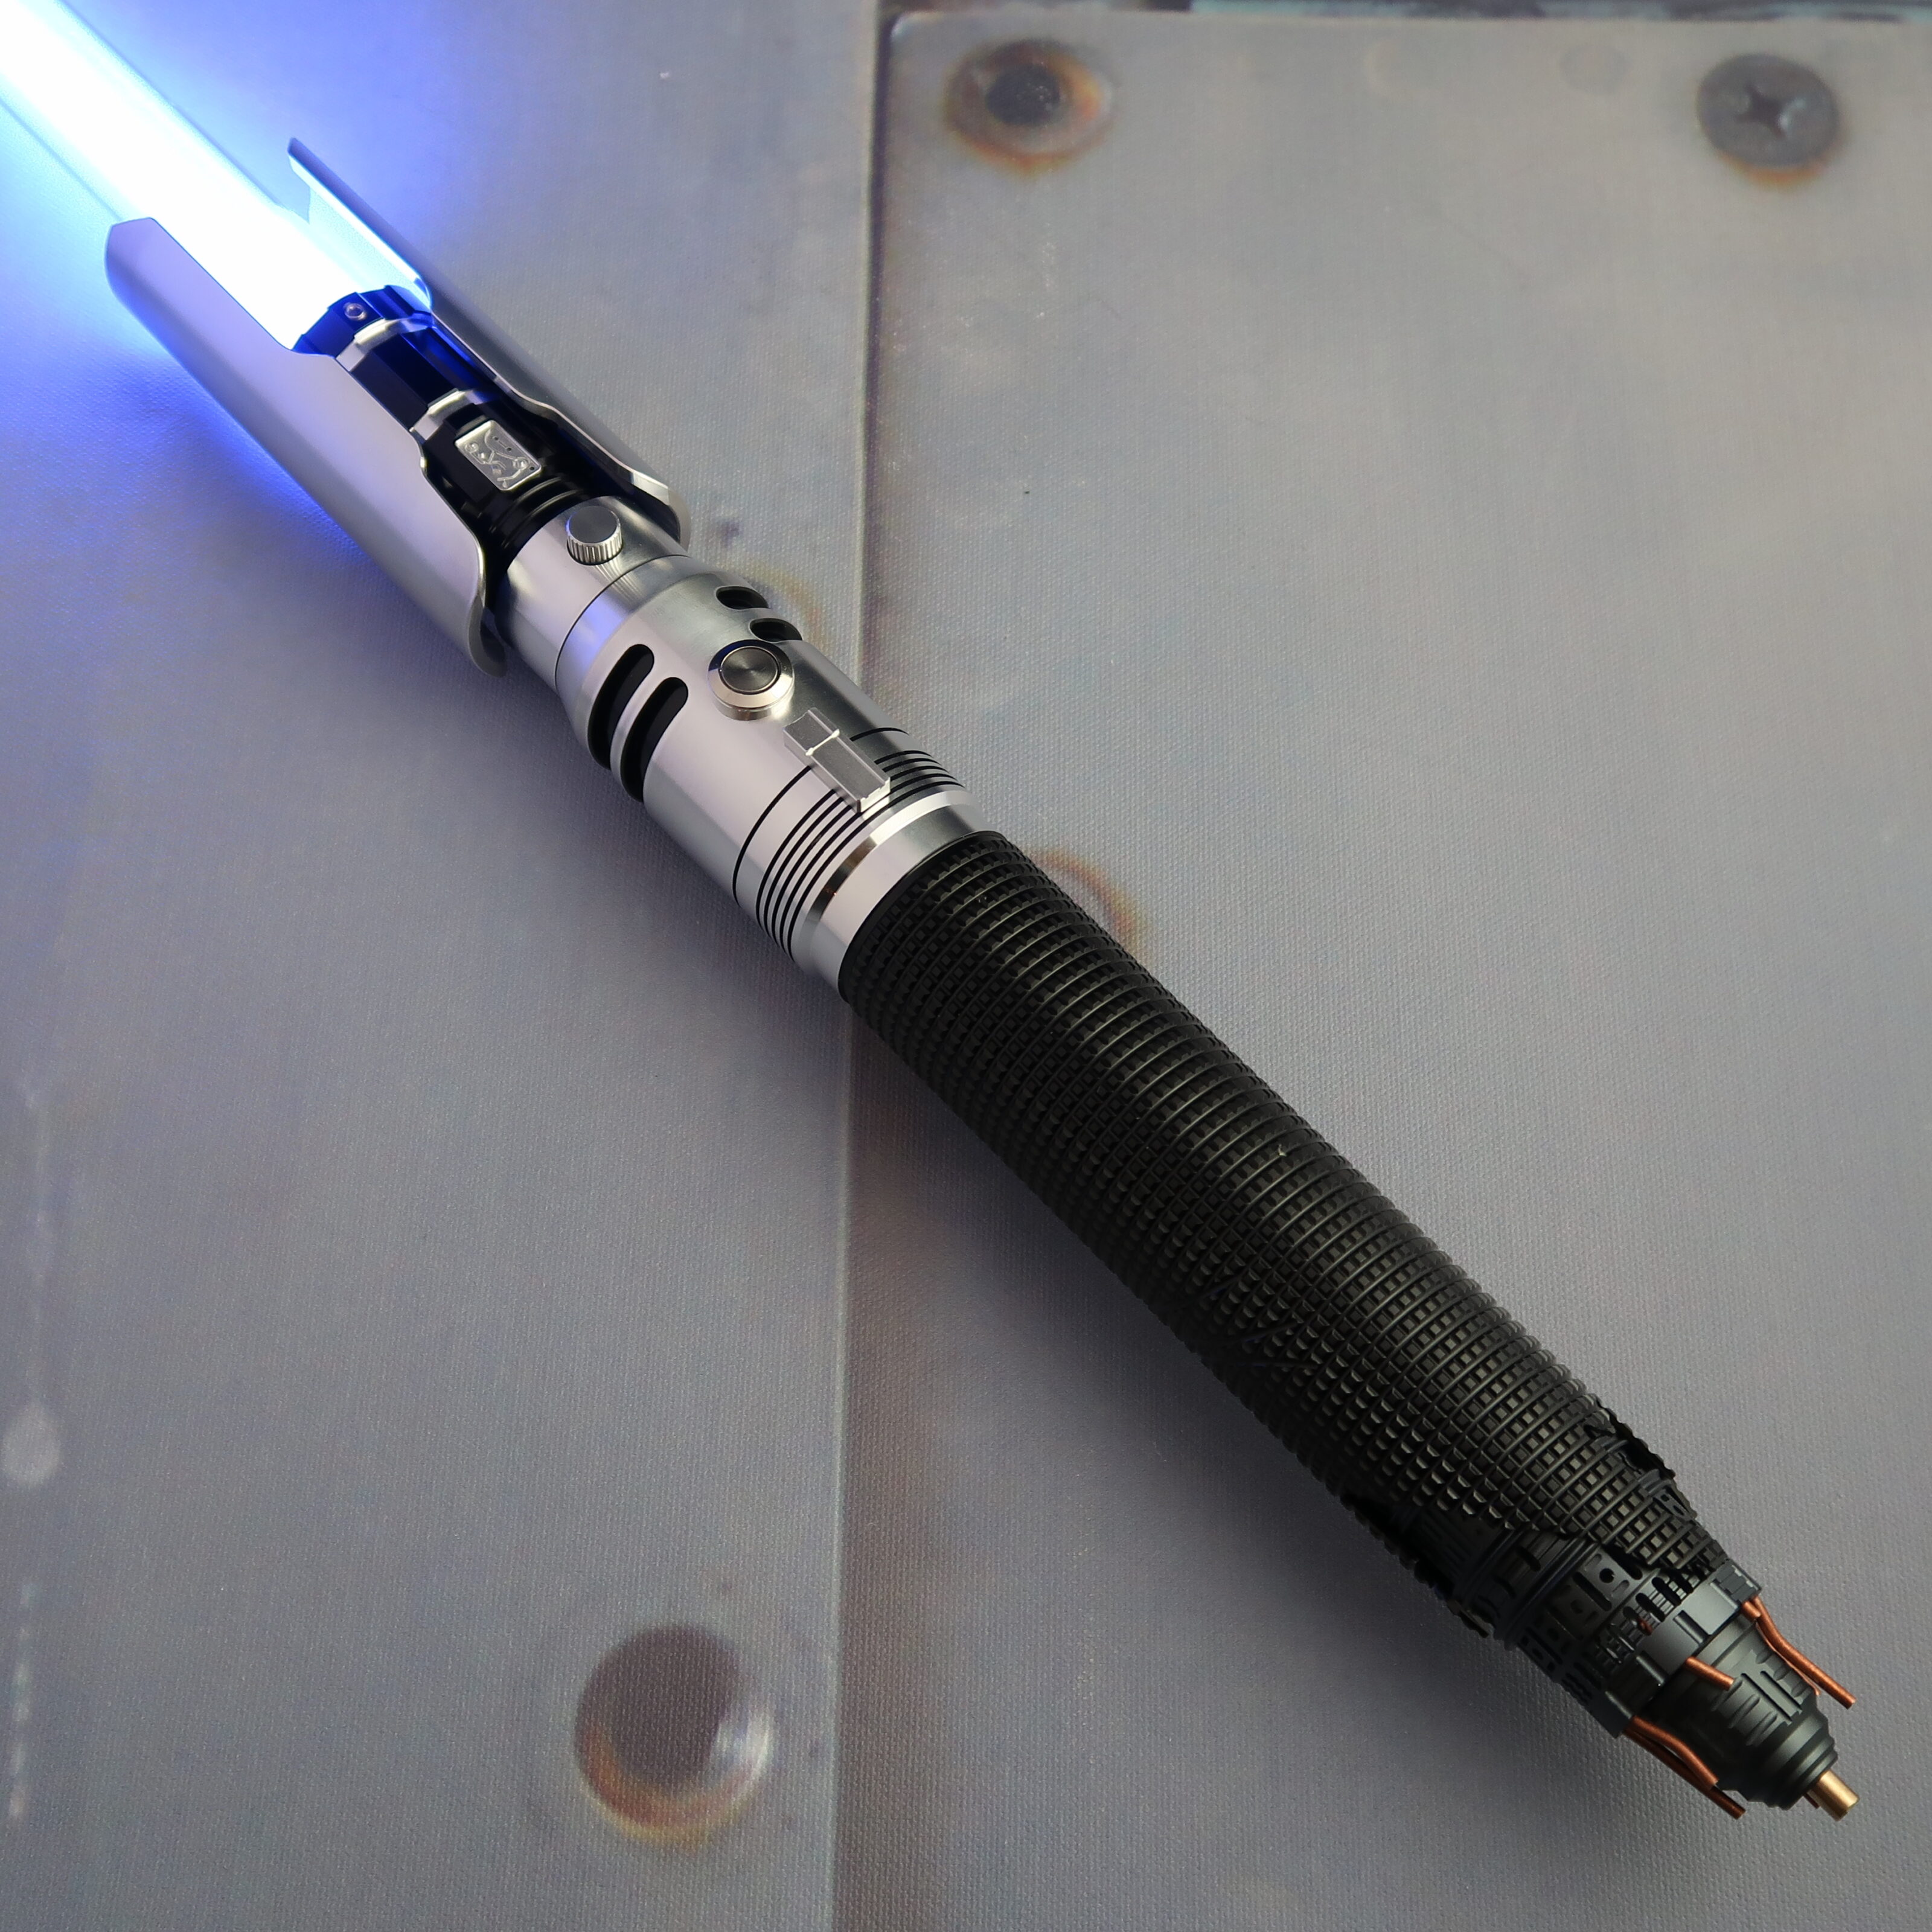
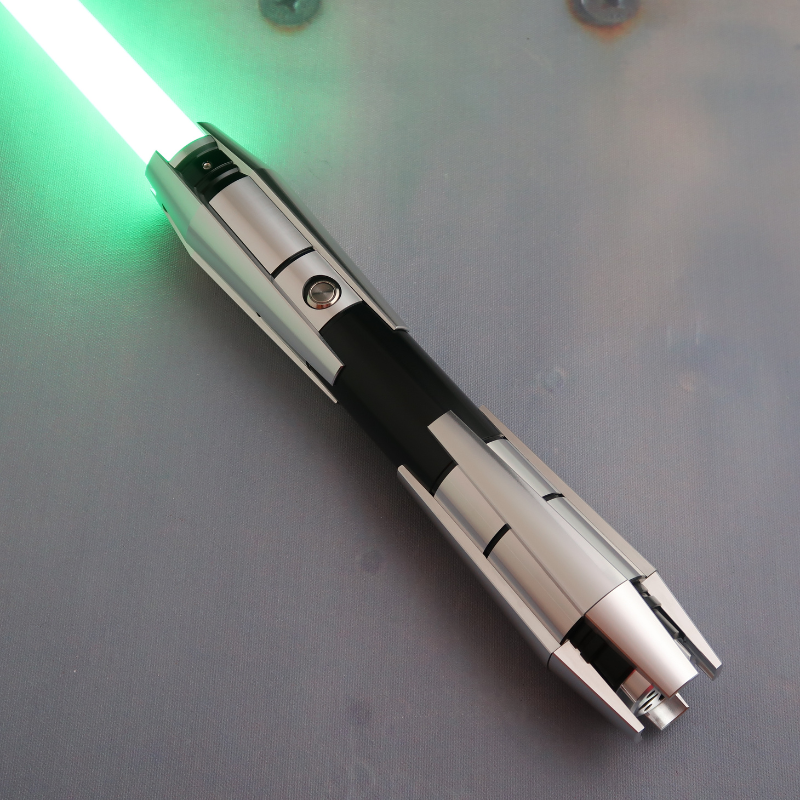
This scene takes place shortly after Luke receives his father’s old blue lightsaber from Obi-Wan Kenobi (later known as the “Skywalker Lightsaber” or “Graflex” here at Ultrasabers). If you’re building a Stormtrooper cosplay inspired by Luke’s Stormtrooper disguise, carrying a blue lightsaber blade may not be film-accurate, but it does create a subtle but powerful nod to this infamous character and crossover look.
As an early disclaimer, there are no precise measurements for this homemade Stormtrooper costume. There are a wide variety of Imperial troopers, and an even wider array of body types, meaning that learning how to make a Stormtrooper costume involves some inprecision, creativity, and customization. These instructions are intended to be a guide for your costume. Feel free to add to and subtract from it as you see fit.
Additionally, when it comes to making cuts, it’s always better to leave more than to take too much off. Give yourself some leeway by overestimating the appropriate sizes of your armor, and adjust accordingly.
Lastly, this is a time-consuming project that takes a solid 3–8 hours (not including drying time for the paint). Be prepared and start building your Stormtrooper costume well in advance of whatever event you are planning on wearing it for.
Alright, now that we’ve covered the basics, let’s get started!
Clothing:
Tools and Supplies:
We begin with the exterior white armor plating on the arms and legs. Use your string or twine to measure the length and circumference* of the following body parts:
*Be sure to leave between 3-5 inches of extra cardboard when making your cuts to allow for some wiggle room and fine-tuning.
From here, we move onto the torso:
Depending on your choice of Stormtrooper, the plates here will vary. This portion of this DIY Stormtrooper armor project takes the most significant amount of time and patience:
Continuing with how to make Stormtrooper armor, this part is where you can get even more experimental. Super-glue plastic containers, bottle caps, and other small items to the armor that corresponds to your particular Stormtrooper.
*Be sure to wear safety goggles and a respirator to protect yourself when spray painting.
Put on all the black clothing, then put on the rest of the armor in the following order:
Yes, purchased and DIY Stormtrooper costumes are both legal to wear in public, whether at conventions, events, or private gatherings. However, if carrying an E-11 medium blaster rifle or other toy gun, always follow local prop weapon guidelines and venue rules.
When you want to channel Luke Skywalker as a Stormtrooper or make a general homemade Stormtrooper costume, like our DIY version, it can cost under $50, depending on materials and thriftiness (compared to $1,000+ for screen-accurate armor kits).
Most conventions allow lightsabers and other Star Wars prop weapons, such as blasters, provided they are clearly non-functional and comply with event safety rules. Policies vary by venue, so always check prop and weapons guidelines in advance. For air travel, security checkpoints, and packing advice, see our guide on traveling with your lightsaber.
There you have it! This Stormtrooper costume DIY project is open to much interpretation, and no two suits will be the same, making it a fun weekend undertaking. Remember, don’t be afraid to get creative with it, and may the Force be with you! Once you’ve finished your work of art wearable, show it off to like-minded fans at SaberForum.com, and see what other fans have made, too.