15% OFF ALL SABERS - UP TO 4 FREE SABERS Learn More
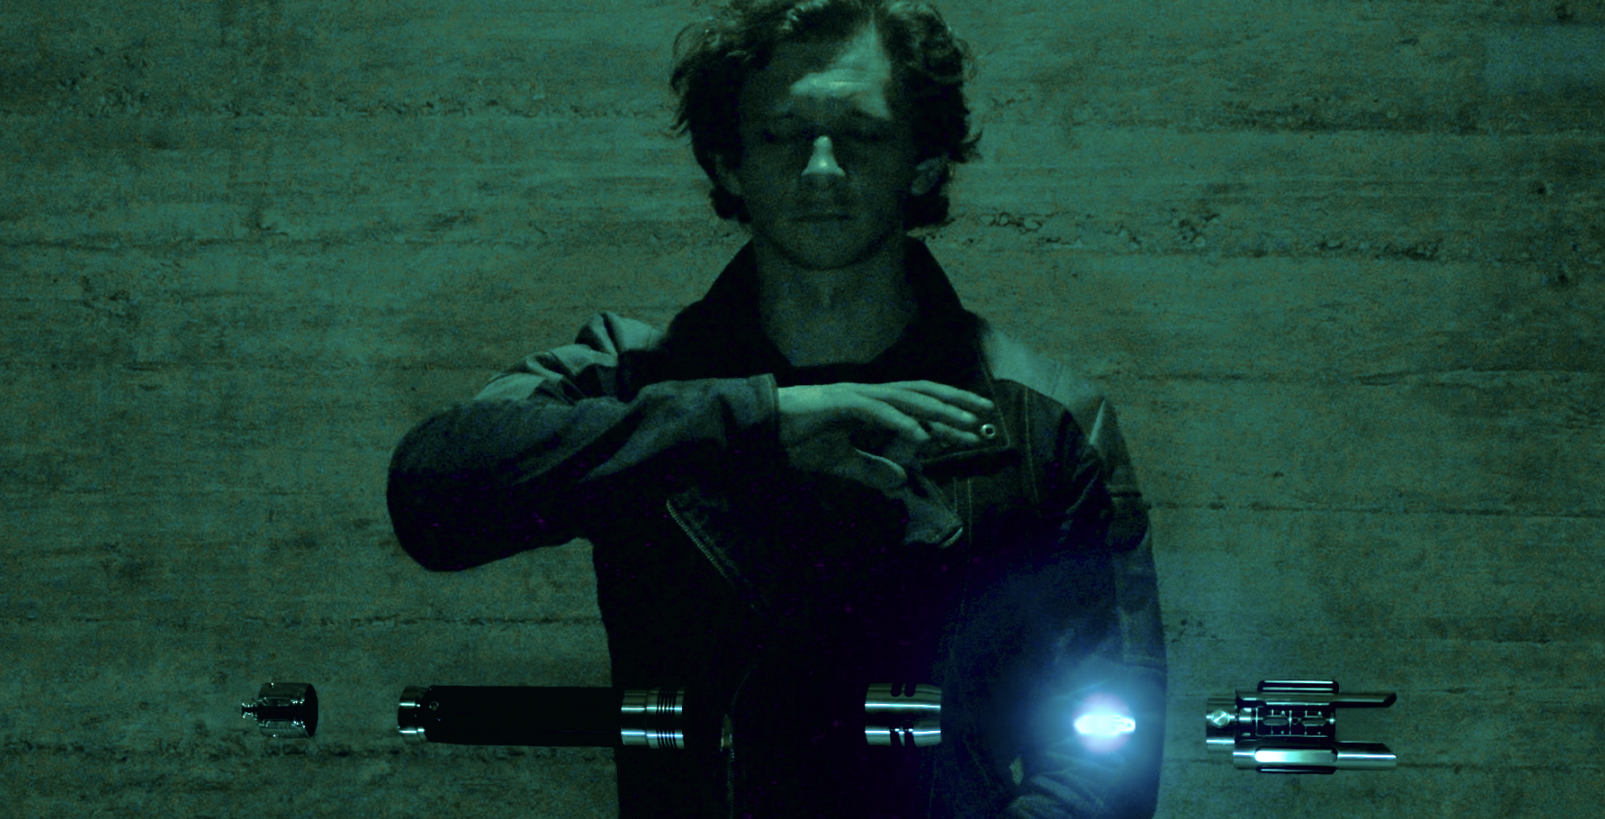
Making your own lightsaber is one of the best ways to show off your love of Star Wars. But, too many options leaving you with analysis paralysis? Don’t worry, we’ve got you. In this guide, we will walk you through all of the options to help you create your dream lightsaber, whether you are an absolute beginner or a seasoned Jedi Master.
Let’s start with some custom lightsaber vocabulary for those who may not know:
Your lightsaber hilt selection will dictate the general look of your lightsaber and what electronics selections are available. The default prices shown are based on it being built with our No Sound (Stunt) electronics option, with all the default customizations. The hilt is the foundation of your custom lightsaber build, so choosing the right style is one of the most important steps in the process. Some users prefer sleek Jedi-inspired hilts, while others gravitate toward aggressive Sith aesthetics or character-inspired replicas.
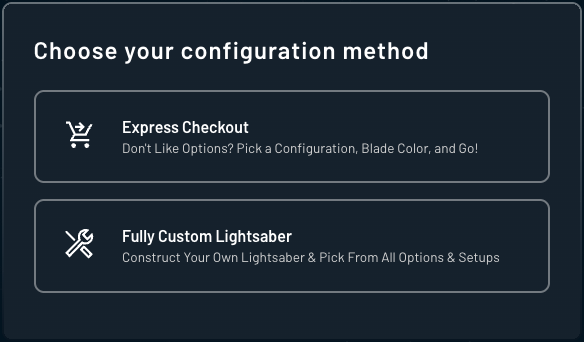
If you want to simply pick your lightsaber electronics and blade color, Express Checkout is the option for you.
If you want to get into all of the details and custom-tailor the lightsaber to your exact specifications, you’ll go with the Fully Custom Lightsaber option.
For users who want maximum personalization, the fully custom path gives you access to deeper configuration choices, including blade types, soundboards, emitter options, switches, chargers, and more.
This is the part of our lightsaber build guide where you will choose whether you want lightsaber sounds or not, in-hilt LED, or Neopixel. You’ll be able to choose your blade color, blade length and type, battery setup, pick out different saber accessories, and different hilt ornamentation options where available. This is where your saber begins transforming from a basic hilt into a fully customized lightsaber tailored to your preferred combat style, display goals, or cosplay desires. Here is a quick breakdown of all the sound options:

No Sound (Stunt Saber): This will come with an in-hilt LED and no sound. The majority of our hilts will come installed with an 18650 Li-Ion Rechargeable battery, but a select few will come with a 4 X AAA Battery setup. Stunt sabers are popular among users looking for lightweight handling, affordability, and some of the best lightsabers for dueling without the added electronics complexity.

Saber with Basic Sound: This will come with an in-hilt RGB LED that can change colors and 9 sound fonts, which can all be changed with a few quick switch presses. This custom lightsaber option is ideal for users who want immersive sound and color customization while maintaining a straightforward user experience.

Saber with Premium Sound: This will come with an option of 3 different soundboards and an in-hilt LED. Premium sound offers deeper customization options, motion effects, advanced sound fonts, and expanded onboard controls for users who want a more cinematic experience.
Here is a breakdown of the lightsaber soundboard options you will find in our Saber with Premium Sound Setup:
You can read more about the differences between our different soundboards in our Lightsaber Instructions & Custom Saber Manuals guide or Custom Lightsaber FAQ page.

Neopixel Saber with Sound: Neopixel sabers are very realistic lightsabers because of their scrolling ignition effects, dynamic blade animations, and highly immersive visuals. This one comes with an option of 4 different soundboards and a Neopixel blade that has built-in animations to more closely resemble the lightsabers in the movies. They are the same 4 soundboards as are present under Saber with Basic Sound and Saber with Premium Sound, they just have a Neopixel blade! The two UltraProffie options will come with more detailed blade animations and are preset with 25 different blade styles.
These lightsaber builder options will only be present when you’ve selected a configuration with sound. What options are available will be completely dependent on the soundboard selected in the previous steps. Making your own saber using these upgrades can dramatically improve immersion, responsiveness, and visual presentation, depending on how you plan to use it.
Flash on Clash: This causes the blade to flash a different color when it is hit against something. All of our sound options will make a clash sound, but Flash on Clash is required to flash a different color. Flash on Clash comes default on all lightsabers with our Neopixel Saber with Sound setup. The color options available are based on compatibility with the blade color you selected. For example, we do not offer Blue Flash on Clash with a Red Blade because the two colors would mix, making a violet. Flash on Clash is not compatible with our TRI-Blade Colors.
Illuminated AV Switch: These AV Switches will have a ring of color around the button, illuminating in the selected color. Availability is based on compatibility with the hilt selected.
Now that you’ve chosen your electronics, you can go through the rest of the customization options to fine-tune your lightsaber to your exact specifications. This stage allows you to personalize the finer details of your build, helping transform your saber from a standard setup into a completely unique custom lightsaber. These options will be present on all custom lightsabers. What options are available will be completely dependent on the hilt and soundboard (or lack thereof) selected in previous steps:
Battery Configuration: Depending on the setup, you will have options for different saber electronics, chargers, and batteries.
Recharge Port: The Recharge Port allows you to plug a charger into the hilt to charge the saber without having to remove any of the electronics.
Blade Length: The standard blade lengths we offer are 16”, 24”, 32”, 36”, and 40”. Different blade lengths can dramatically affect handling, balance, spinning techniques, and dueling comfort. Many users prefer shorter blades for tighter control, while longer blades offer additional reach during combat.
The default will depend on the lightsaber and what is recommended, along with your height and needs. The length is based on the blade itself; it does not account for the emitter depth of the lightsaber. Most hilts have an emitter depth of 2”-3”, with some slight variance due to our saber smiths hand-fabricating every saber by hand. If you want to know the approximate emitter depth of a specific lightsaber, please contact our customer service team, and they would be happy to get you that information.
Blade Option: All of our blades have a 1” outer diameter, and include:
Switch Type: We offer Guarded Switches and AV Switches, depending on the saber hilt you selected:
Blade Tip Type (Round vs Pointed): This boils down to a visual preference. We highly recommend choosing a rounded tip if you are going to be engaging in sparring. As described in the names, the round tip has a rounded surface and is shorter, while the pointed tips come to a point and are slightly longer.
Blade Retention Screw Wrench: This is a hex wrench that will be specifically sized for the blade retention screw holding the blade in your saber. While the standard is 5/64, we have several hilts and parts that use different sizes. These come standard with every saber purchase at no additional cost.
Blade Plug: Blade plugs are meant to be installed in your lightsaber whenever the blade is removed. This keeps the LED seated where it is meant to be, while also protecting any unsuspecting eyes from having a high-powered LED shone in them if the saber were to be turned on with the blade removed. Our standard blade plug has a simplistic look with a circle blocking the light from the center, only allowing a circle of illumination to come through. Our circle blade plug has a decorated plate on the top, illuminating a design in the center.
Day Blades: When using your saber in a brightly lit space or in broad daylight, the blade will wash out. To combat this, we offer Day Blades that feature clear plastic tinted with the most common lightsaber colors of red, green, blue, and purple, so your saber will still show its true colors. Different LED colors will change the color of the Day Blade, so it is recommended to select the same color of Day Blade as your LED’s color. These are all Heavy Grade Blades, so they are also great for sparring.
Saber Stand: This two-piece saber stand gives you a means of displaying your lightsaber when it is not in use. They require very basic assembly and are made of acrylic.
Belt Clip and Belt Clip Wheel: Our lightsaber build guide would not be complete without a way to keep your saber at your side. Found in our Lightsaber Accessories section, these Belt Clip Wheels allow you to wear your lightsaber on your belt. They require that your lightsaber have a Belt Clip Wheel installed.
And there you have it; now that you’ve read our Star Wars lightsaber guide, you are now equipped with the necessary knowledge to craft the perfect custom saber to start your Jedi (or Sith) journey. Whether you prefer a simple stunt configuration, a combat-ready dueling saber, or one of our advanced Neopixel designs for immersive movie-style effects, Ultrasabers offers options for every type of collector and duelist. You can also explore our premium-quality Real Lightsabers and fully customizable Limitless Sabers for some of the most cinematic and feature-rich saber experiences available. Don’t forget to join the active online community at SaberForum.com! Meet like-minded fans, get inspired, and show off your custom lightsaber builds.


